

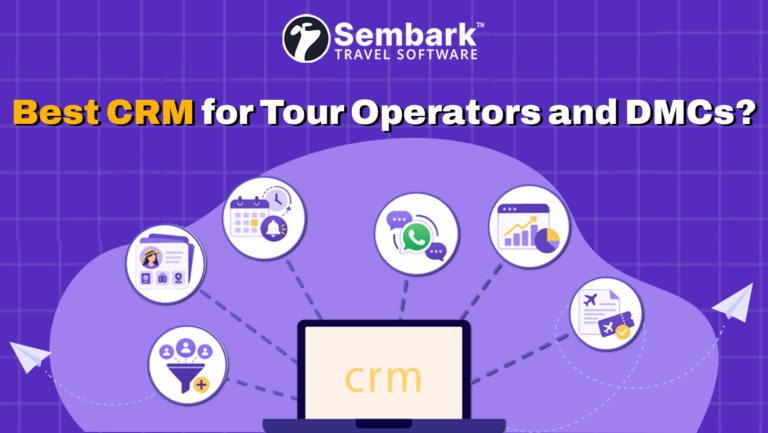




Sembark Travel Software is a cloud-based solution designed specifically for travel businesses. It helps streamline and manage Sales, Operations, Accounting, Taxation, Reporting, and Employee Management from a single platform. With Sembark, travel companies can improve sales efficiency, simplify daily operations, maintain accurate accounts and tax records, increase revenue and profitability, and reduce operational costs.
Create New Account
If you are a travel business such as a DMC, Tour Operator, or Travel Agency looking for a complete solution to manage your sales, operations, accounting, and reporting activities, Sembark can help streamline your day-to-day business processes.
Sembark account access is available by invitation only. To request a free demo account, please submit your contact details, and our team will get in touch with you to understand your business requirements and provide the necessary access details.
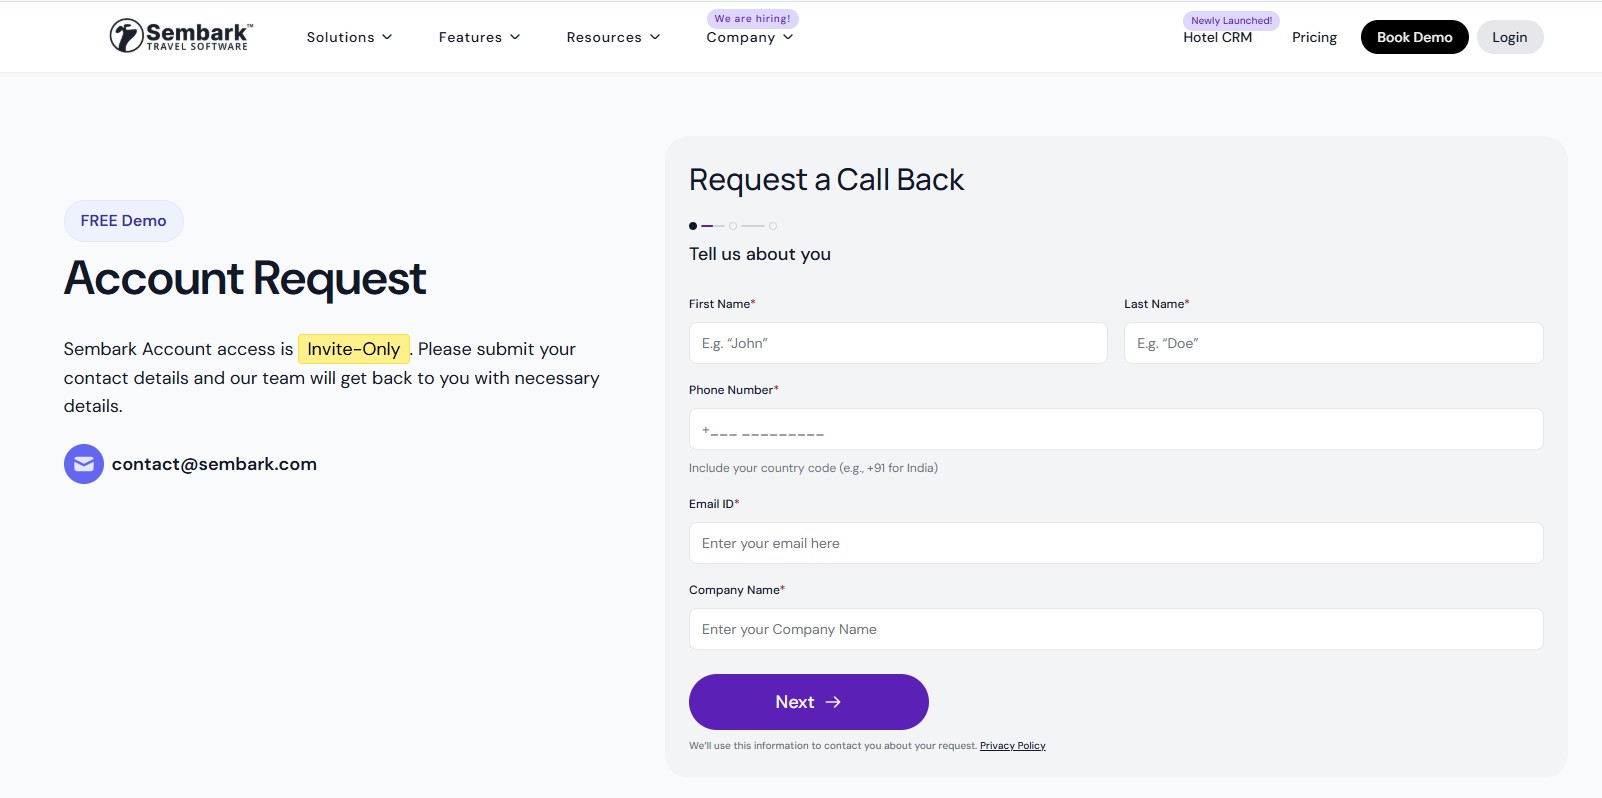
Step 1: Register Your Account
Visit the registration page: Sembark Registration Page. Fill in the required details and submit the registration form. Once your request is reviewed, our team will contact you to schedule a product demonstration and guide you through the onboarding process.
Step 2: Verify Your Email Address
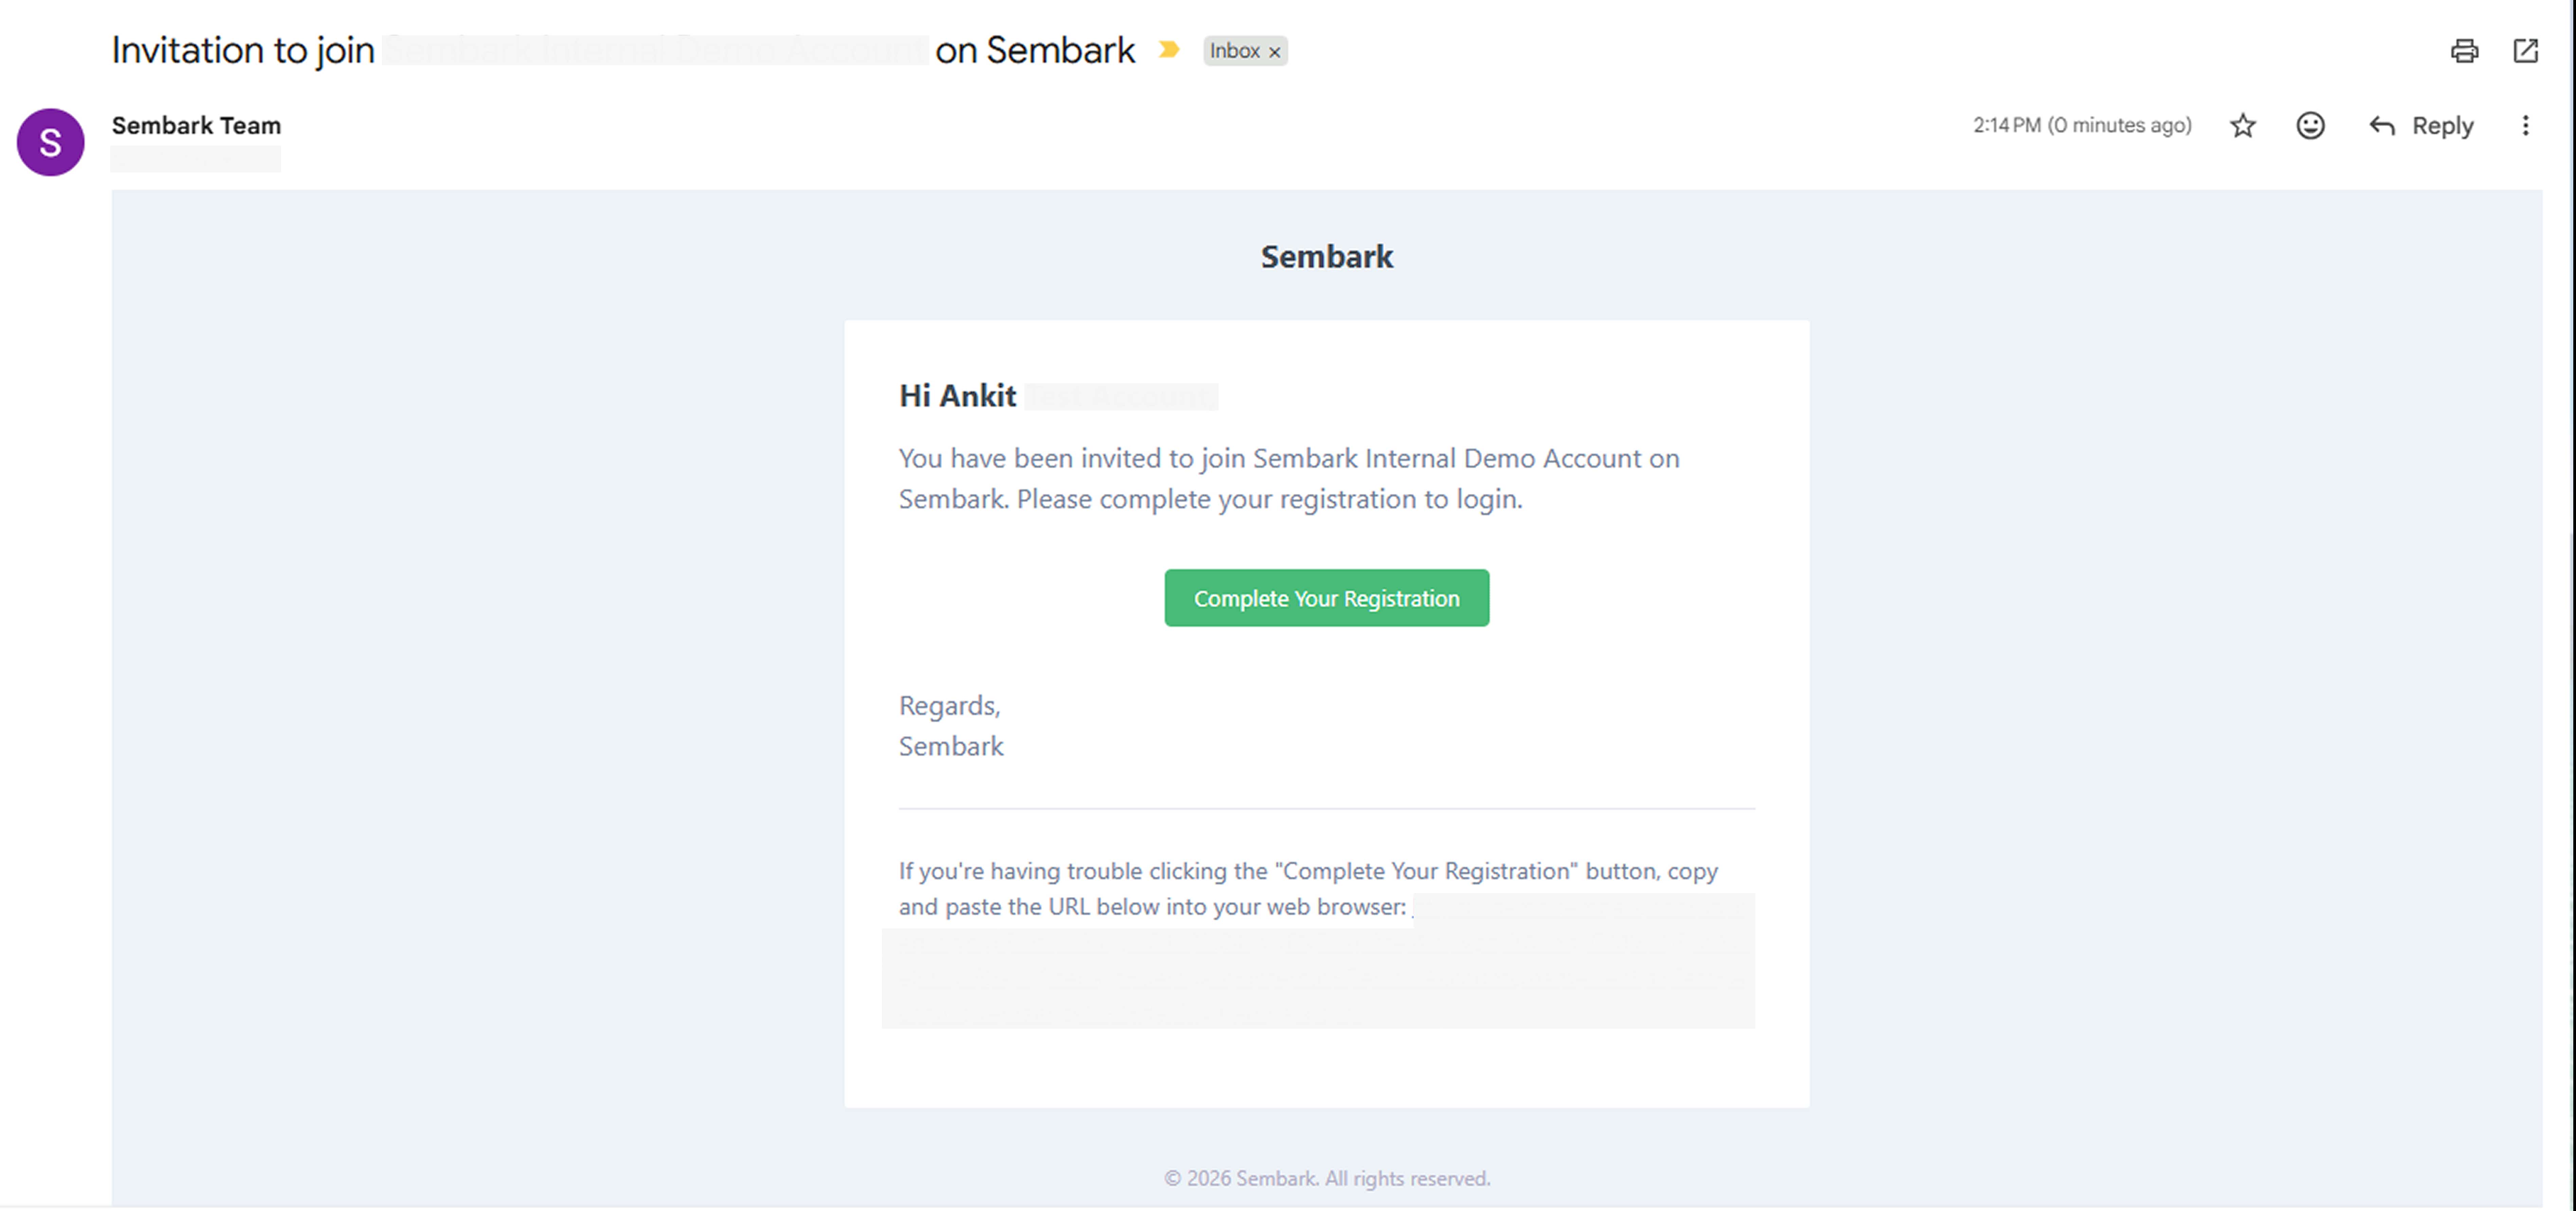
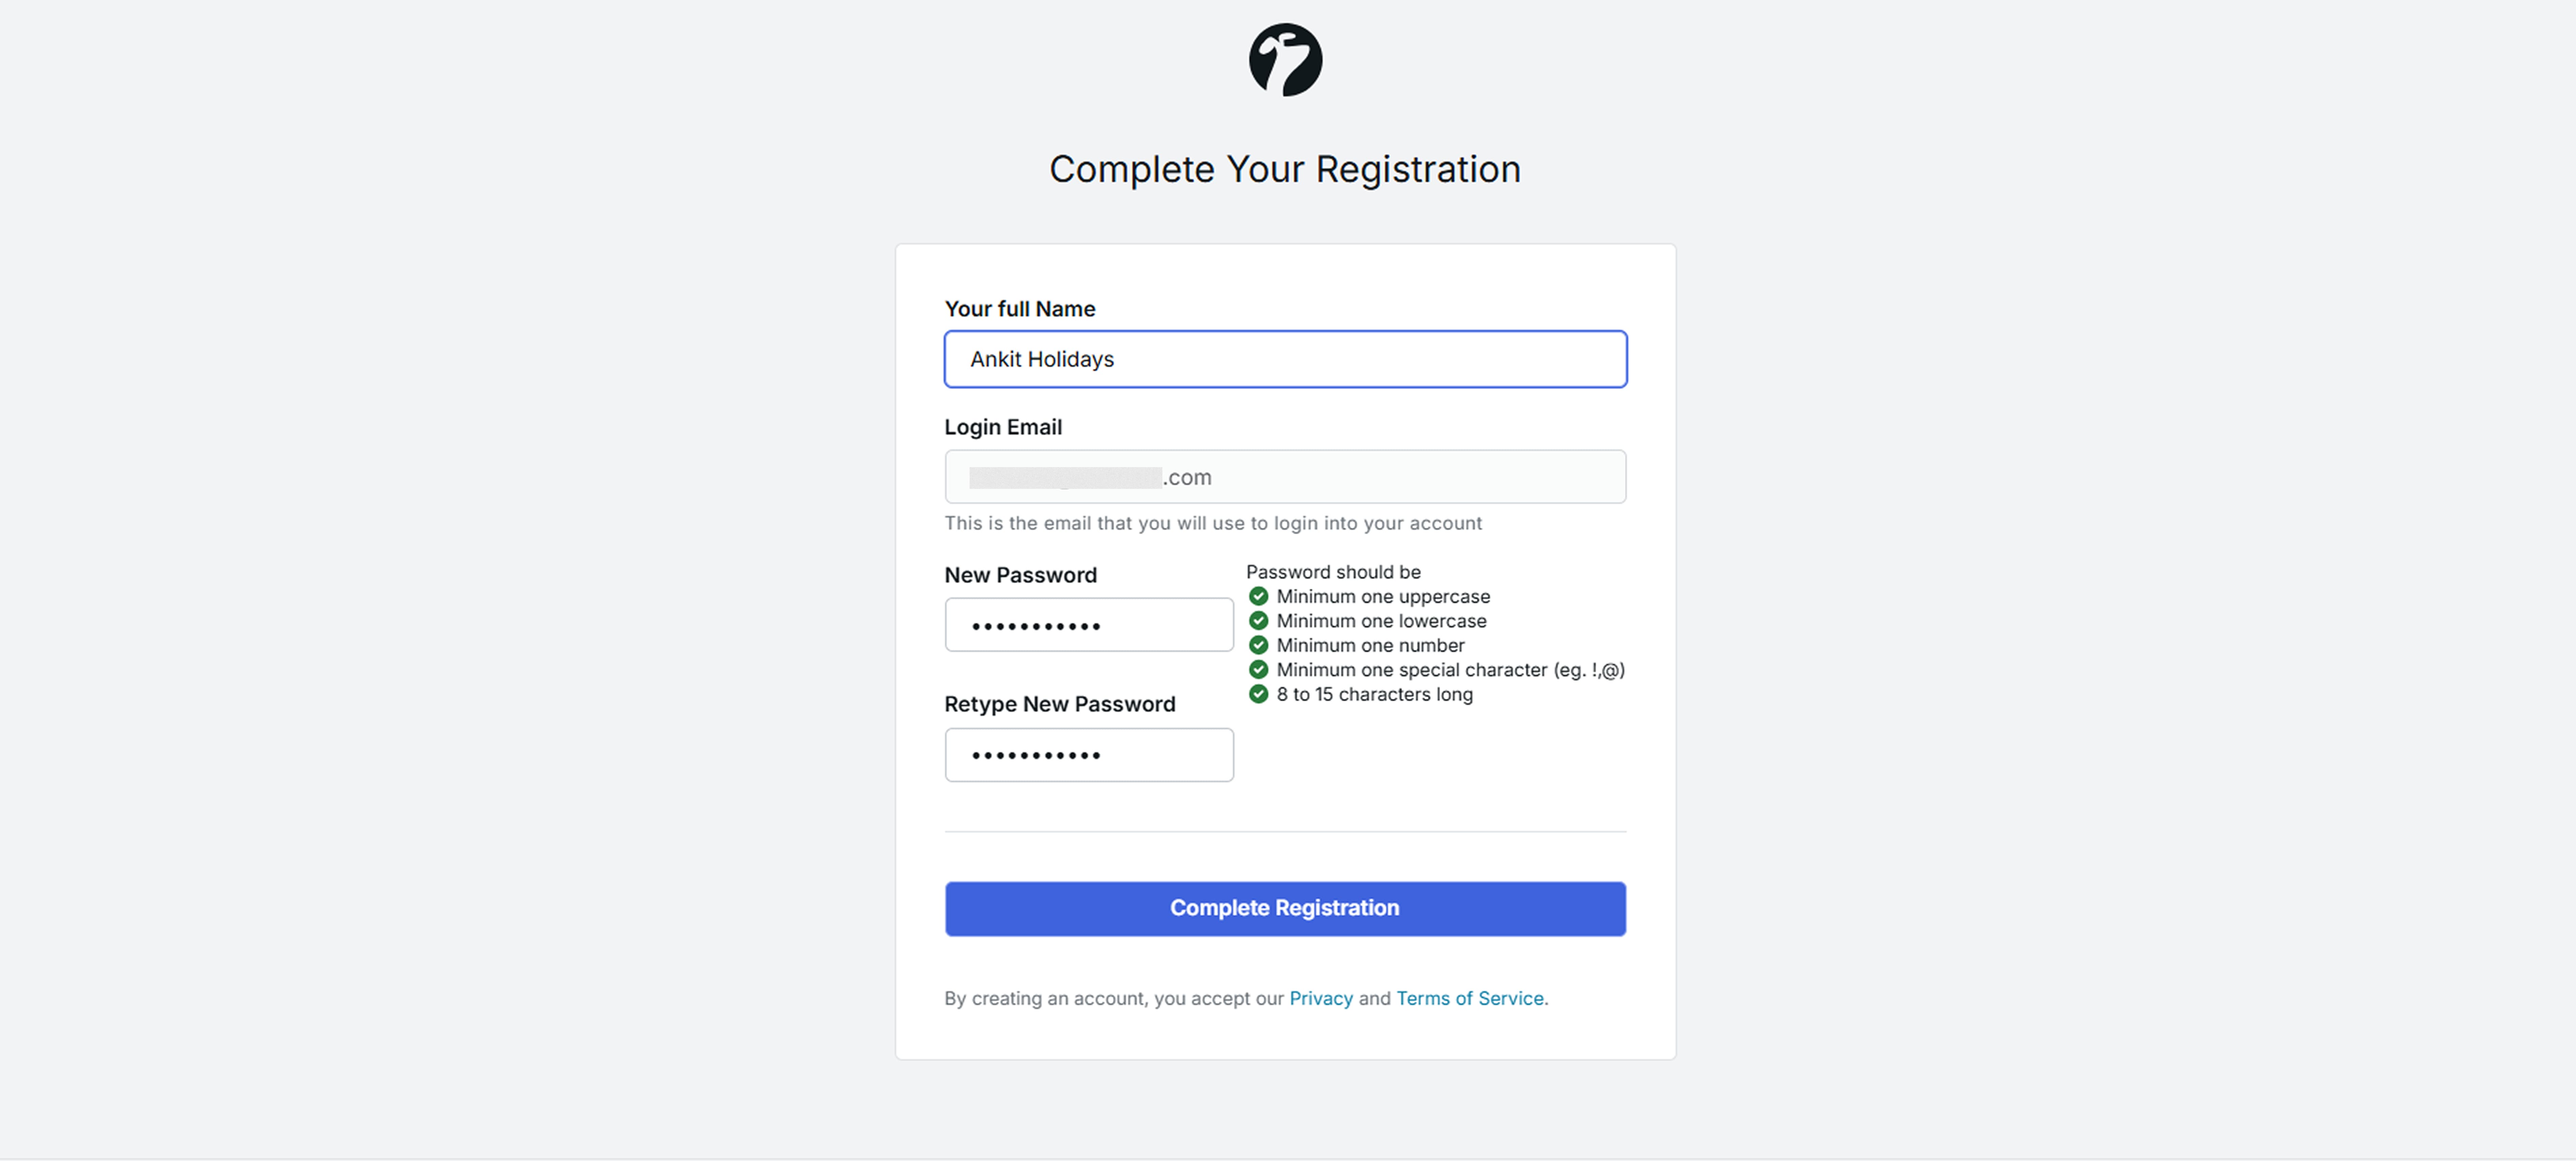
Once your registration is completed, you will receive an email from support@sembark.com. Open the email and click on Complete Your Registration. This will redirect you to the account verification page
Step 3: Verify Company Details and Create Password
- Review your company details and update any incorrect information before proceeding.
- Create your password.
- Click save to complete your account setup.
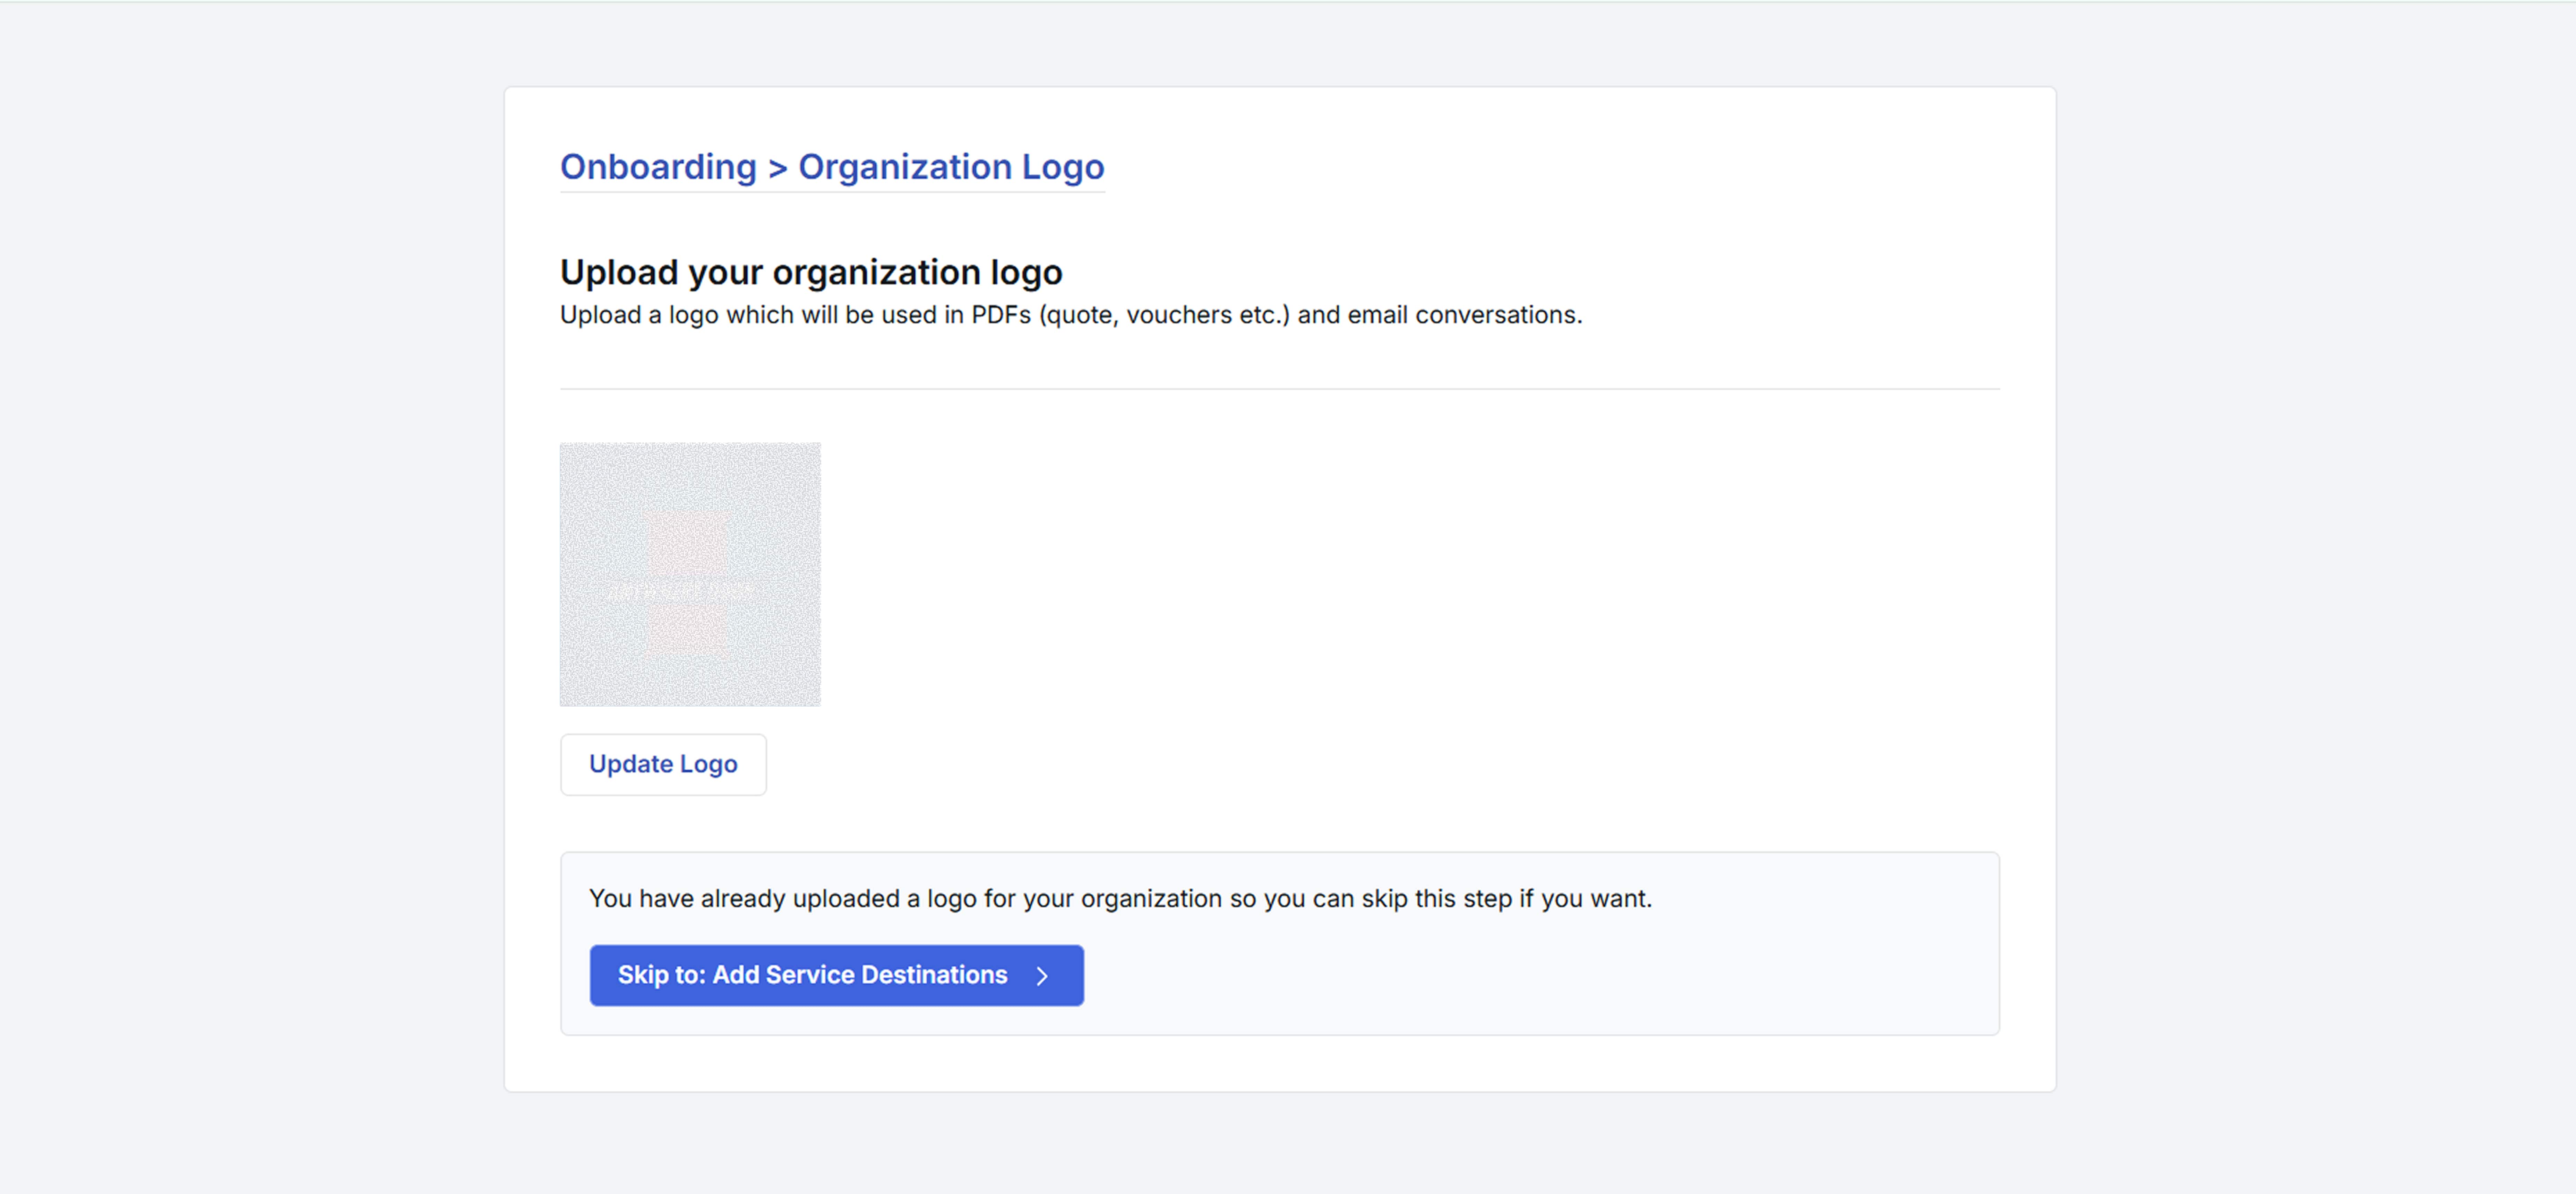
Step 4: Upload Company Logo
After signing up, you will be asked to upload your company logo.
Logo Requirements:
- Image Size: 400 × 400 pixels
- File Format: JPEG or PNG
- Maximum File Size: 500 KB
- Upload your logo and click save.
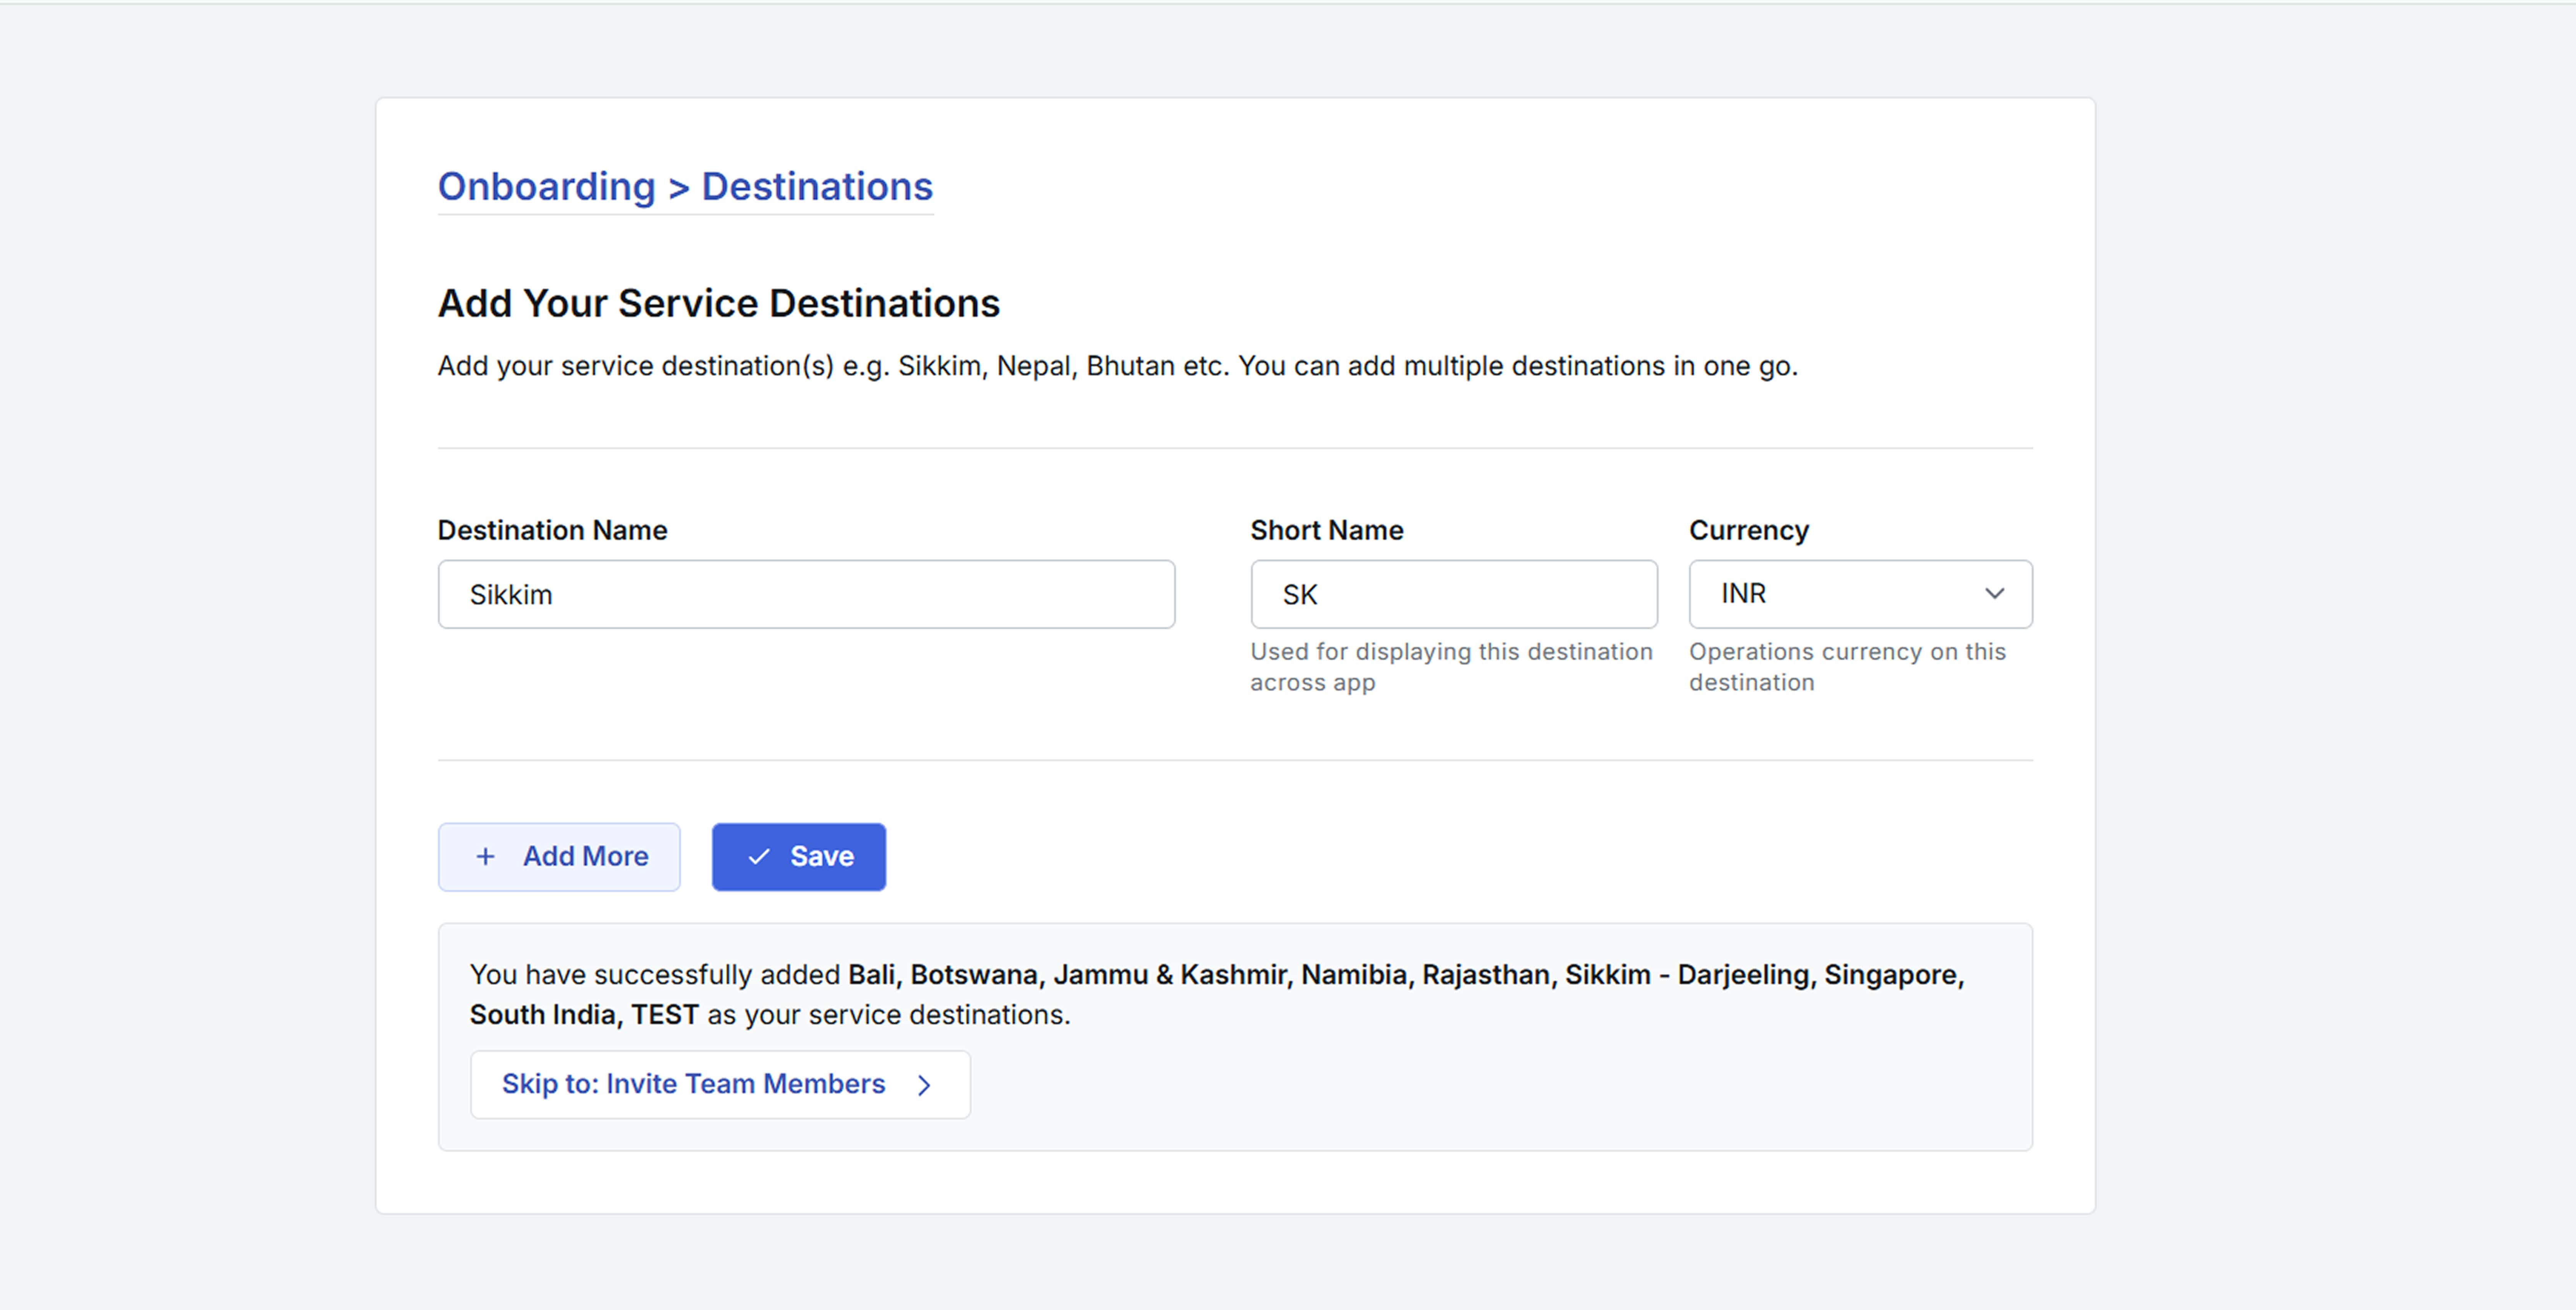
Step 5: Add Operational Destinations
Select the destinations where your company operates and click save to continue.
Note: Additional destinations can be added later from the system settings.
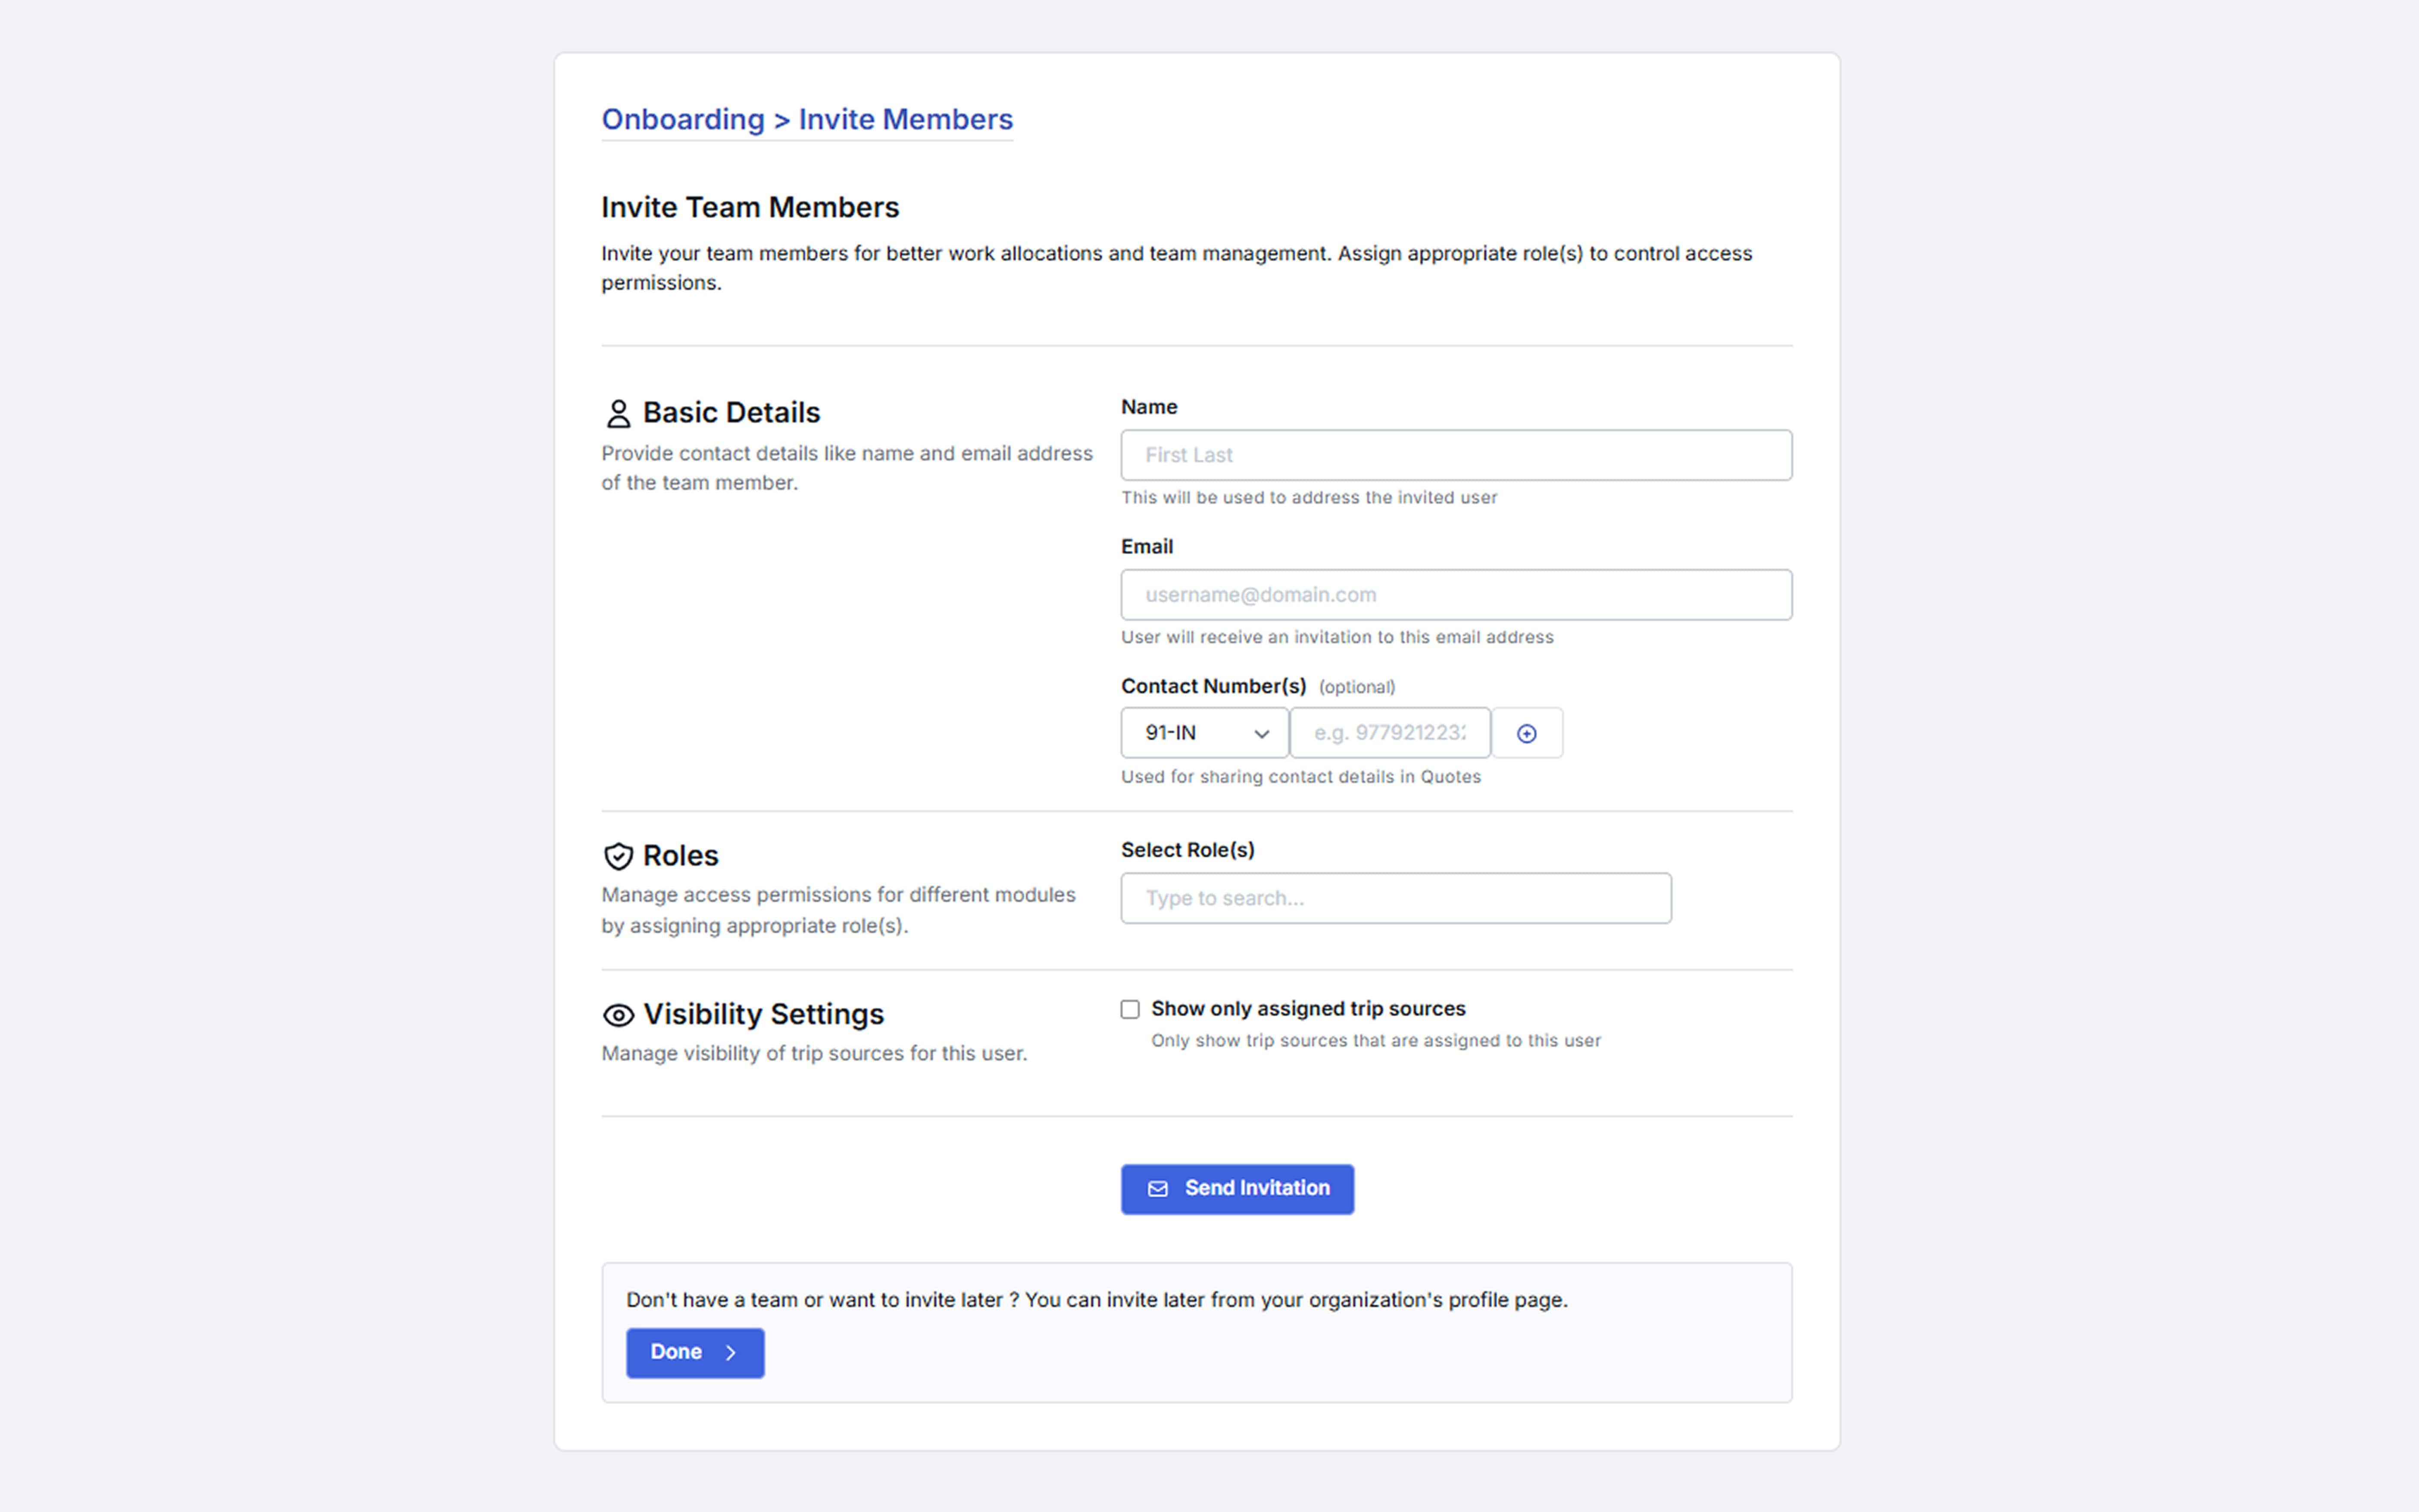
Step 6: Invite Team Members
You can invite your team members by entering their email addresses. The invited users will receive an email invitation to join your Sembark account. Click save to proceed.
Step 7: Access Your Dashboard
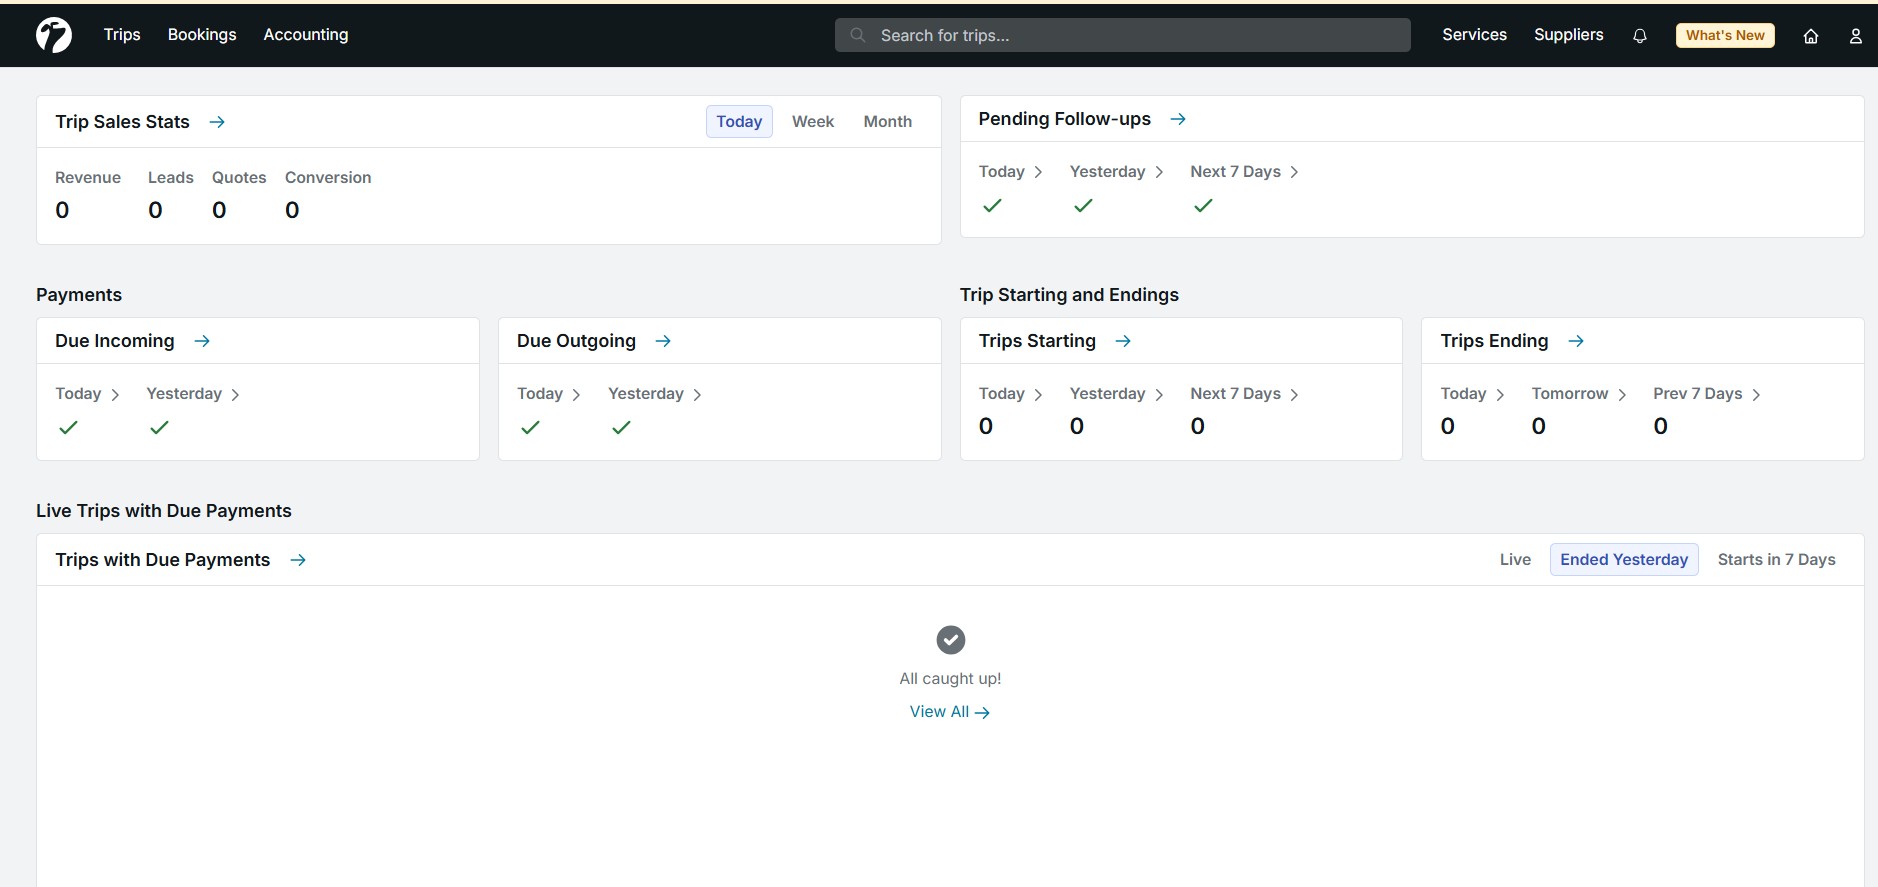
Once the setup process is completed, you will be redirected to the Sembark Dashboard. You are now ready to start managing your travel business with Sembark.
Existing Account
If you already have an account, please follow this documentation to get most out of the software.